Sunday, August 14, 2016

Aug 14 - fan shroud mounts are on

So I was figuring out the best way to use what I already have and in this case I have my 95TA fans that have their own shrouds; and a pretty easy method for making load bearing mounts.  I measured where the pin at the top of the radiator is in reference to the edge of the radiator itself (top cap) so I can pull the shroud right up against that spot.  And where in elevation to hang the radiator fan shroud to make sure it can cover the most of the area to draw air through the fan.  So as is typical of something that is elegant, when you see it, it looks like a simple thing.  That there couldn't be much engineering in it for it to be the way that it is.  And sometimes you just get lucky in that it is easy to make as well.

I got a little of both this time around.  I got something that was pretty straight forward and yet is considering a lot of different elements in its design at the same time.  I'll let the simple pictures tell the rest of the story.  For those that get it, they'll like the simplicity that it turned out to be; and for those that don't get it, don't worry, it really is as simple as it looks, its just got a lot more thought in it than you may think.  :-)

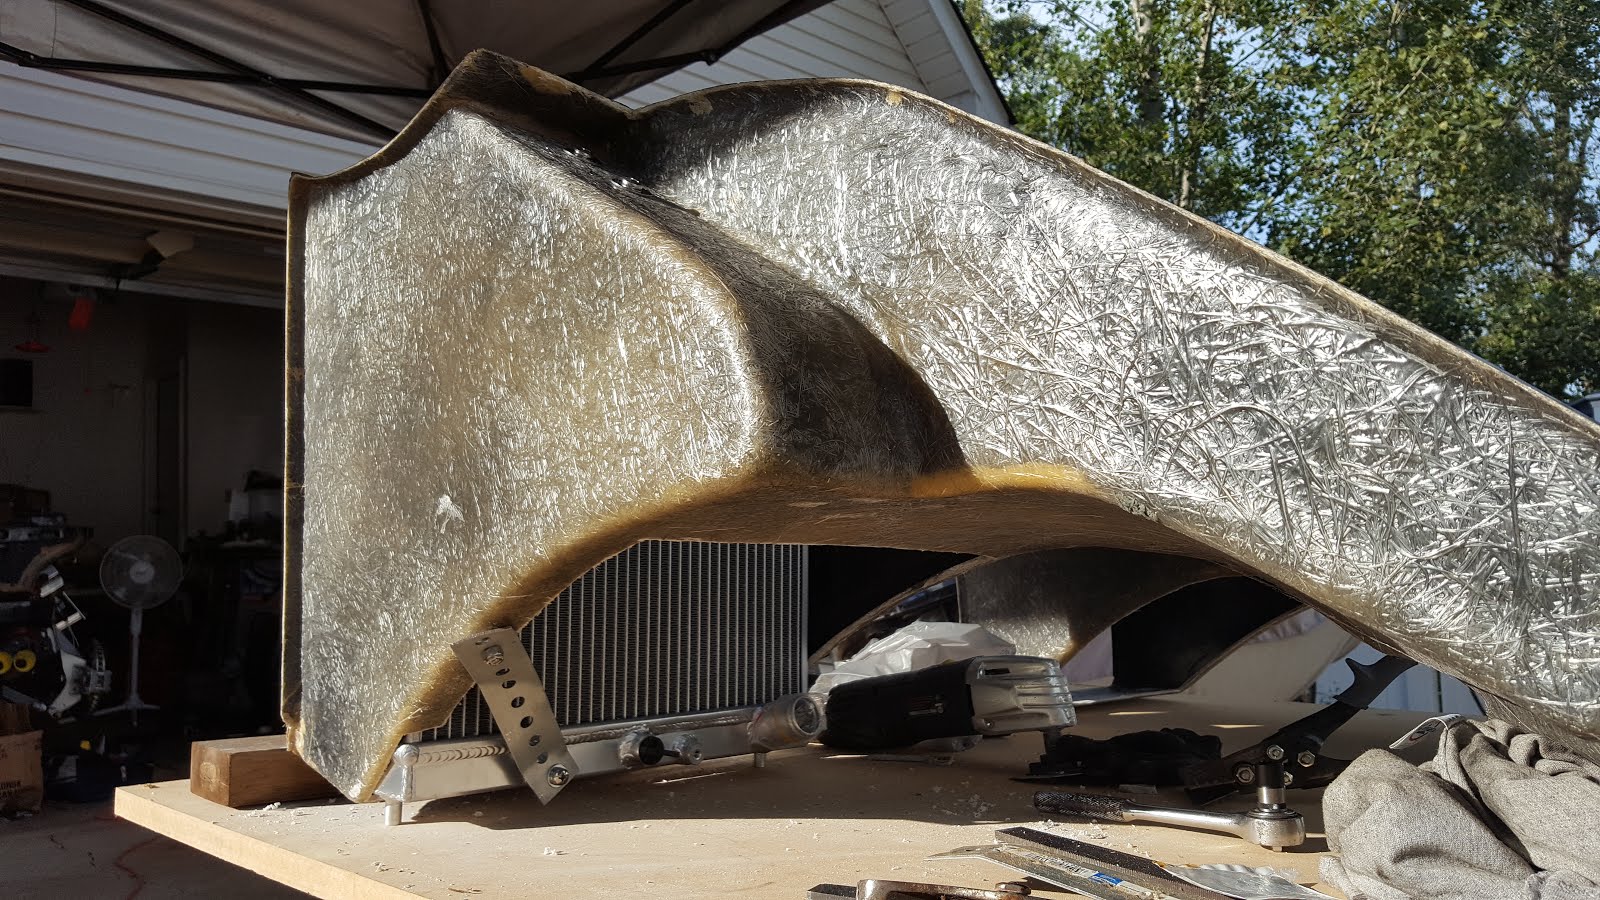
The pin that sits at the top center of the radiator.  This is where I will hang the weight of the fan and shroud from.

My first one I assembled, it was late and the lighting wasn't good.  I didn't take pictures of the process until the next day when I did the next one.  You'll see differences in the two and they're there for a reason.


The next one.  As I built it.
The plate itself is tapped 10-24 and screws run through it, then a nylon lock nut is applied to lock that thread from vibration taking it out.

Saturday, August 13, 2016

Aug 13 - not 48 hours later

I'm back out there, getting after it again.  I'm just so excited that I'm seeing it about to be drivable, I can't stay away from it.  :-)

I've got the wife to help set the engine cover on.  I blocked up a couple of 2x4's and one 2x6 to hold the center up properly.  I've got the hinges screwed in to the body so I can lift the engine cover.  After that I was testing out the alignment of the 3rd brake light.  Which looks like it will go in on this next body pull. 

So Monday the body will come off (hopefully for the last time) and I will get the engine cover mounted/aligned better to stay.  The 3rd brake light will get it's mounting holes on the engine cover drilled and have that unit screwed on.  And last but not least I will get the air ducts mounted in kitty hair into the body for good.  Final radiator mounts will go in and the next time the body goes on I will plumb it for water to be added to the motor.

Tomorrow will have an update on the radiator fan mounts that I have come up with.  I did get one 50% done tonight, but will wait for tomorrow's update to show the pictures of what that looks like.  It is using what is already there to be a good mount point to hang the weight of the fan unit onto.  The rest of the mounting will only to better secure it from moving around and not really be weight bearing.

So here are some pics of the engine cover on for trial fit and the 3rd brake light looks like it will be right at home once mounted.


Aug 11 - physical bug not a software bug

I've got a couple of pictures of the progress I was making this night, before a bug decided it wanted to live beyond my eyelid.  Here's an excerpt from the email I sent my buddies describing to them what happened.

I fell. I got up. But landed hard. Was last night. Went to see the back cracker this morning. Said I knocked my pelvis out of alignment. 

I was working on the car and a bug flew into my eye. I was digging it out and he was trying to dig in to get away from me. I held one finger on the eye while I was making a bee line to the bathroom to flush it out with water. As I ran through the utility room,  I tried to hop over the baby gate at that doorway. I caught my ankle on the top of it but had too much momentum to stop. So I tried a double hop thing but went over the top and landed hard on the floor in the kitchen.

I got up right away as my eye was killing me and went to flush it out. T dug it out, what she could, still feels like something is in there. But was already feeling it,  the fall. My whole left side landed like a sack of potatoes. Forearm,  knee,  shoulder are the worst. 

But before that drama, I did find the proper way these Acura Integra radiators belong in my D&R rear ducts.


This is the expanded metal I'm going to use to screen off rocks and things from hitting my radiators as they're right behind the rear wheel there.  The holes are big enough for my pinky finger to go in to the first knuckle.  Should flow plenty of air still.

Wednesday, August 10, 2016

Aug 10 - Engine cover rough cuts

I took a minute from regular work today to do something that has been nagging at me that needed done.  I did the rough cuts for the engine cover so it looks a little more like it will later on.  I don't think it was too bad for some vibrating cutter and dremel work.  I probably spent about 3 to 4 hours on it in total today.


Aug 8 - Test mounting on car

We got our first chance to have some help over in a while, so I took advantage of it.  I got folks to help lift the body to set it on the frame and check out if my radiator fitments would work out or not.  After having it on, off and on again, it looks like not.  But we are SO close!  Less than an inch.  I'd say about 5/8" is all that we lack in getting it on the money.  But the body needed to come forward that much and it didn't, so it's back to finding that last little bit some place.  I've got those air ducts hitting the frame (as they should do) but they're not 100% in place where they should be.  I also probably need to see if I can mount my radiators vertically inside the ducts, this would make more room all around, not just for the body but for the tail lights to land in their holes and me not need a robotic tool to replace my lamps in the future.  Also it would help with being able to reach in there and remove the radiator cap, if it would ever need to be done.

I managed to get the one bungee cord to hold the radiator and the duct all in one go.  You'll see the bright yellow cord in the bottom most pic.


Sunday, July 31, 2016

Jul 31 - 2nd radiator build out

I've made a video of what I used and how I put mine together.

Hope you enjoy.

Coop

Saturday, July 30, 2016

Jul 30 - 1st Radiator mock up

Gotta start somewhere.  I started working on the drivers side radiator build out today.  Got quite a bit done in a short amount of time, but looks like I may not be able to have my radiator where I'm trying to place it.

I took pictures throughout the day as I was trying to get it to fit and make some brackets for it as well.  You can see the progress below.  I'll write up more when I work on the second one.  I'll probably shoot a little video throughout the day as I build that one.  Should go quicker as I have one kind of in the bag already.

Without further ado, here are the pics.

I used fender washers to sandwich the fiberglass so I could tighten it down a lot and use the strength of the fiberglass itself as a mounting point.  Two screws so lots of leverage to it in place.  Single screw on the bottom as that was all the real estate I had there.  Plus it's really more for to and fro than it is up and down, the top two really have that part handled.

I am worried about it interfering with the rear wheel now that I can see it from the side too.  It'll be close I'm sure.  I'll check it out once I can get it on the car.

Still don't know how I'm going to get this onto the car and not have it really mounted just yet.  Maybe duct tape will rescue me?  :-)  HA HA

Until next time.
Take care,
Coop